Have a Question?
Como Integrar Rocket.Chat com LigeroSmart?
LigeroSmart 6.0
Rocket 3.11.0
How integration works
This article describes the step-by-step instructions for integrating your Rocket.Chat with LigeroSmart.
With this, incoming chats through Rocket.Chat's Omnichannel will automatically create calls on your LigeroSmart the moment the chat starts, including sending an automatic message to the chat client with the created ticket number, no matter if the same was created by web chat, Facebook Messenger, Whatsapp or any other Rocket Omnichannel channel.
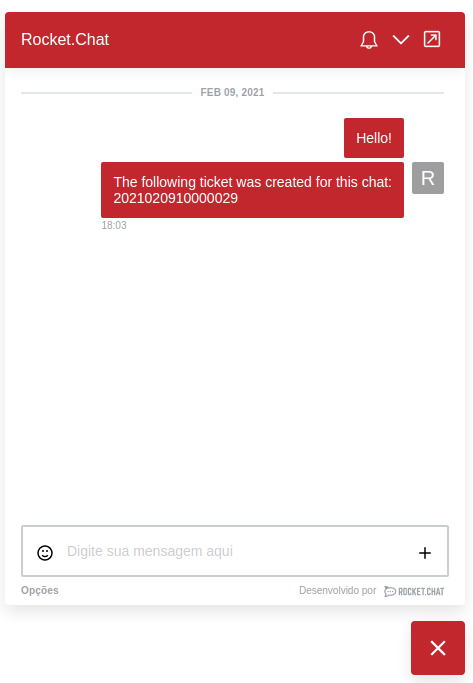
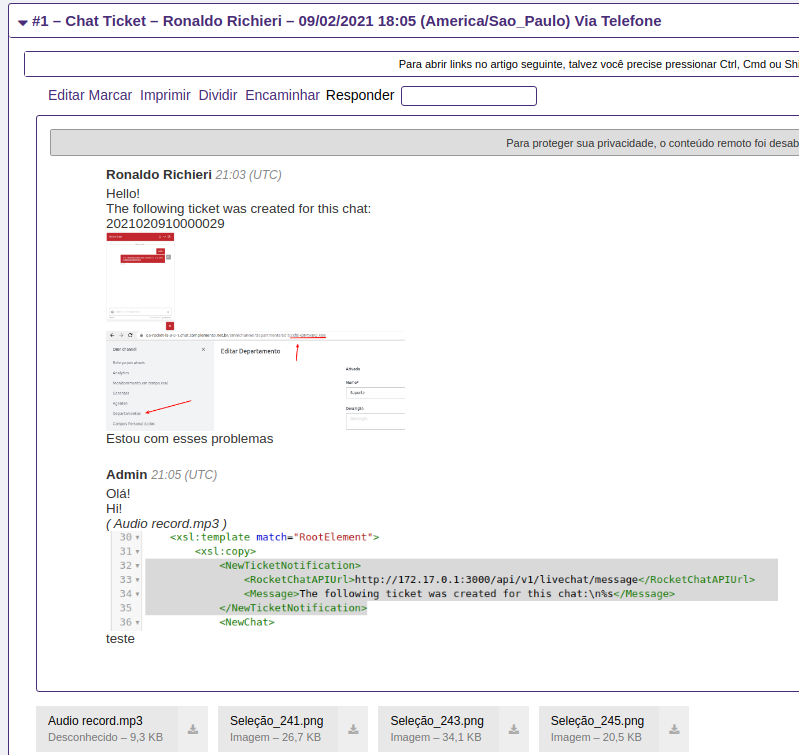
When the chat is finished, the transcript of the chat is sent to the ticket in the form of an article, along with the attachments that were exchanged between the customer and the attendant in the chat:
The ticket can be created in separate rows in your LigeroSmart, according to the department selected by the visitor in the omnichannel chat.
Create service user for Rocket.Chat on LigeroSmart
First, we need to create an attendant (service account) to perform the integration on the LigeroSmart side.
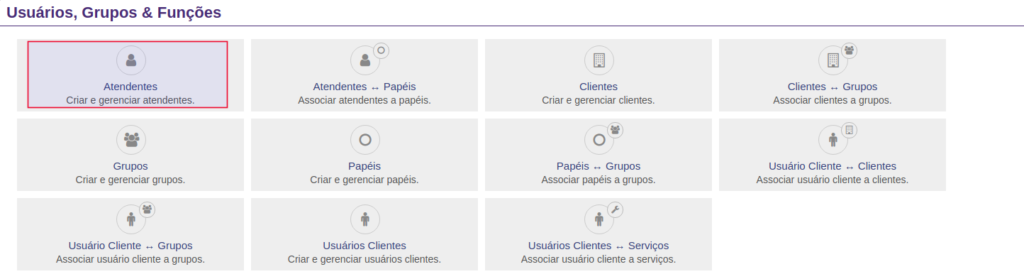
Go to Administration -> Attendants:
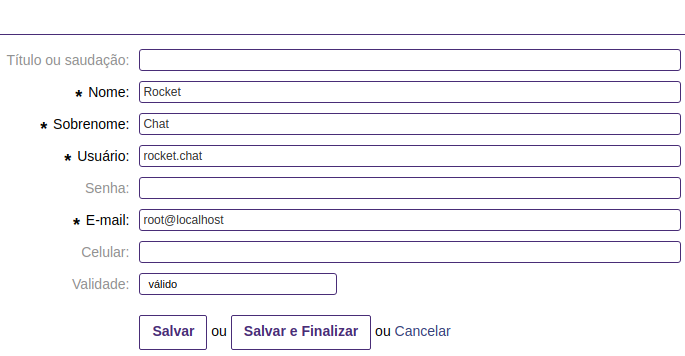
Fill in your account details. Don't forget to enter a password and write it down:
Important: You need to give this account the necessary permissions to create tickets and add notes to the queue (s) that will be integrated into Rocket.Chat. Do this through your system roles (Attendants <-> Roles).
Enable Omnichannel in Rocket.Chat
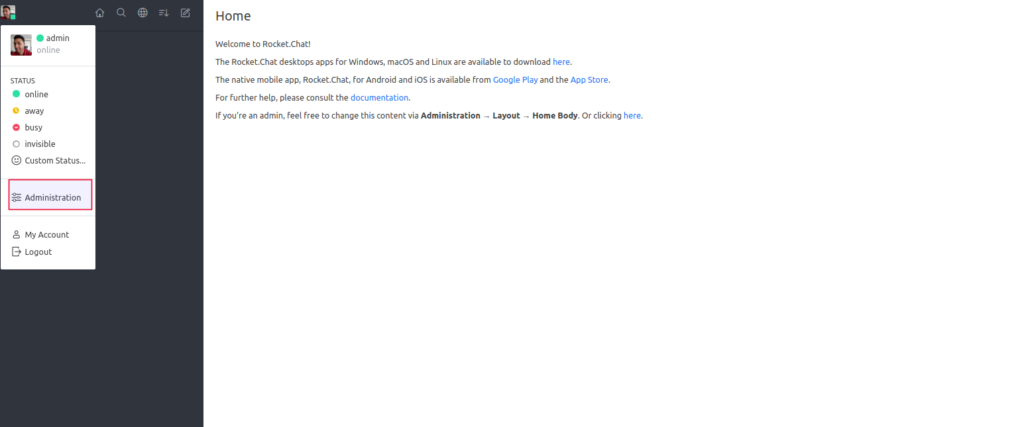
Access your Rocket.Chat administration by clicking on your avatar and then on “Administration”:
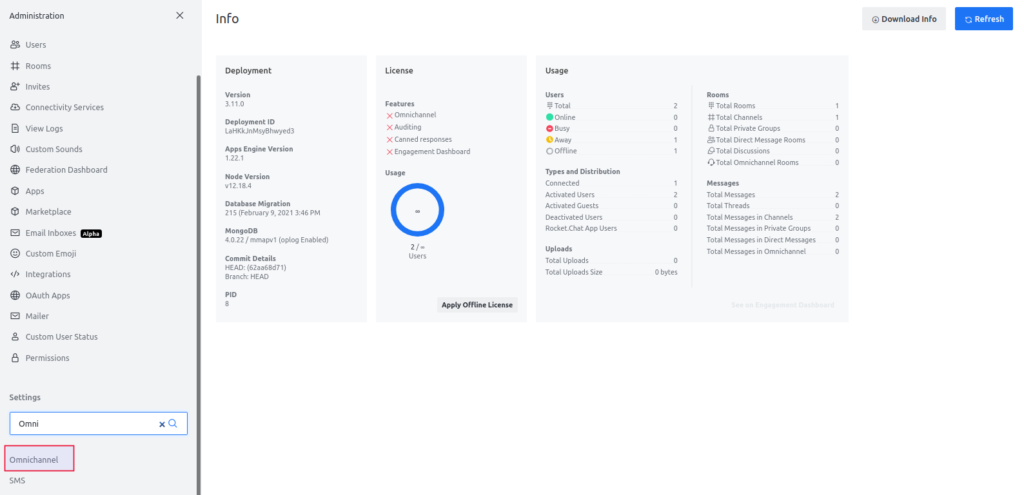
Then, scroll down and find the Omnichannel option in the left side sections:
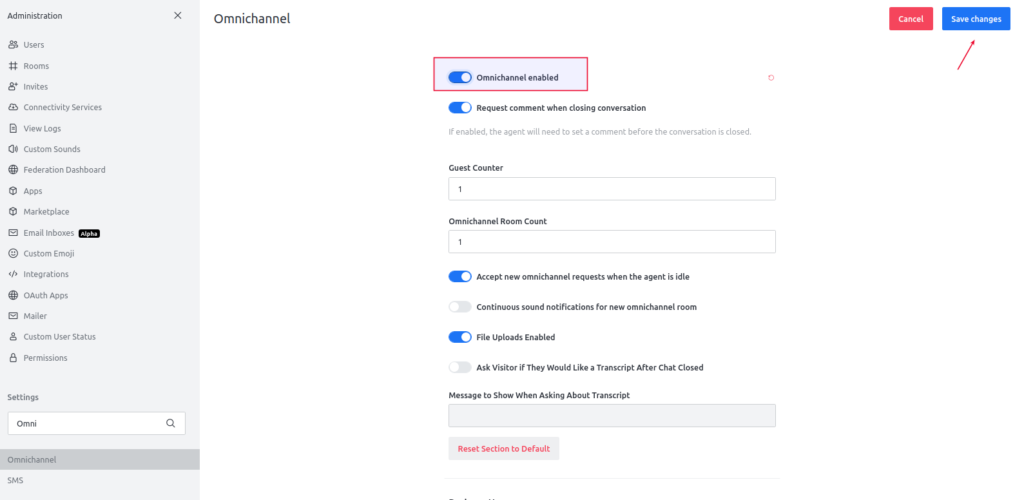
Then, enable the “Omnichannel enabled” option. Save the settings and, if necessary, confirm by entering your password:
Configure your Omnichannel departments
You will now need to configure your omnichannel department (s) in Rocket.Chat.
For this, we recommend the official Rocket.Chat documentation:
https://docs.rocket.chat/guides/omnichannel-guides
Enable Livechat from Omnichannel in the public and client interface of LigeroSmart
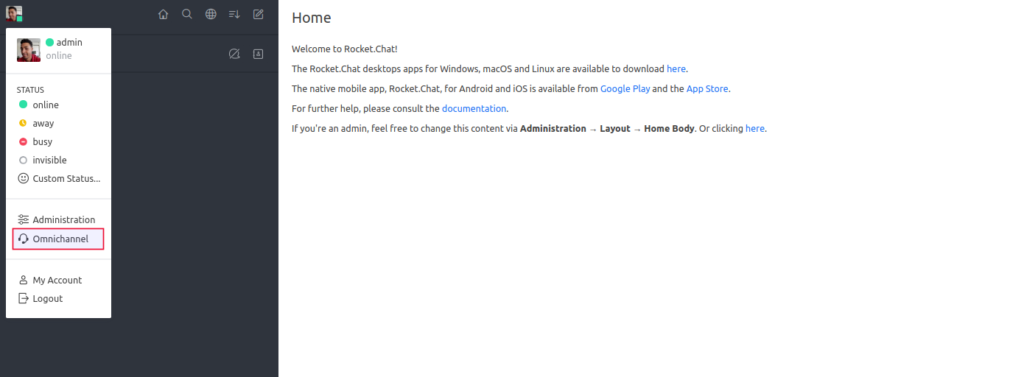
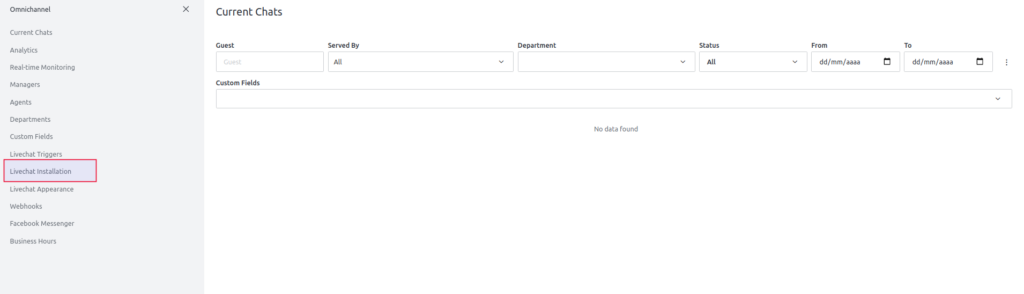
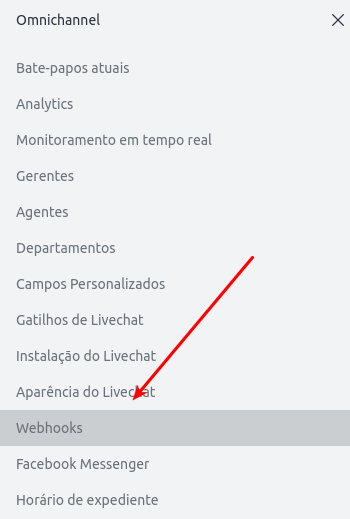
Now, access the Omnichannel menu that will appear in the side menu when you click on your avatar:
Go to “Livechat installation”
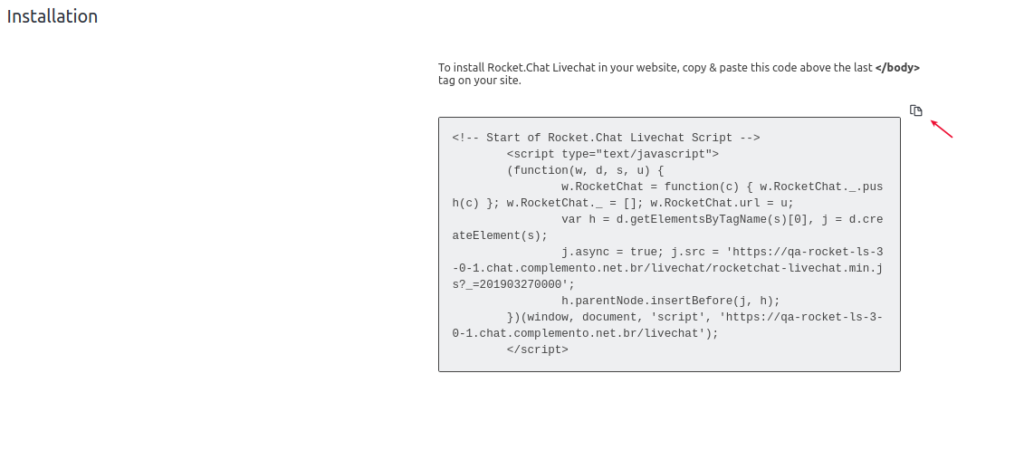
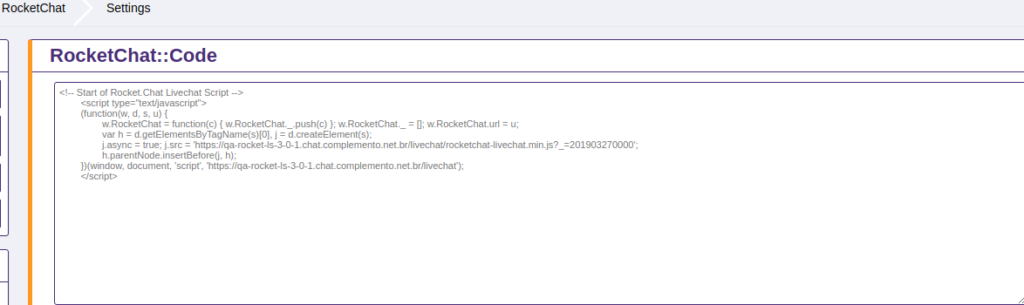
Copy the code that Rocket.Chat provides:
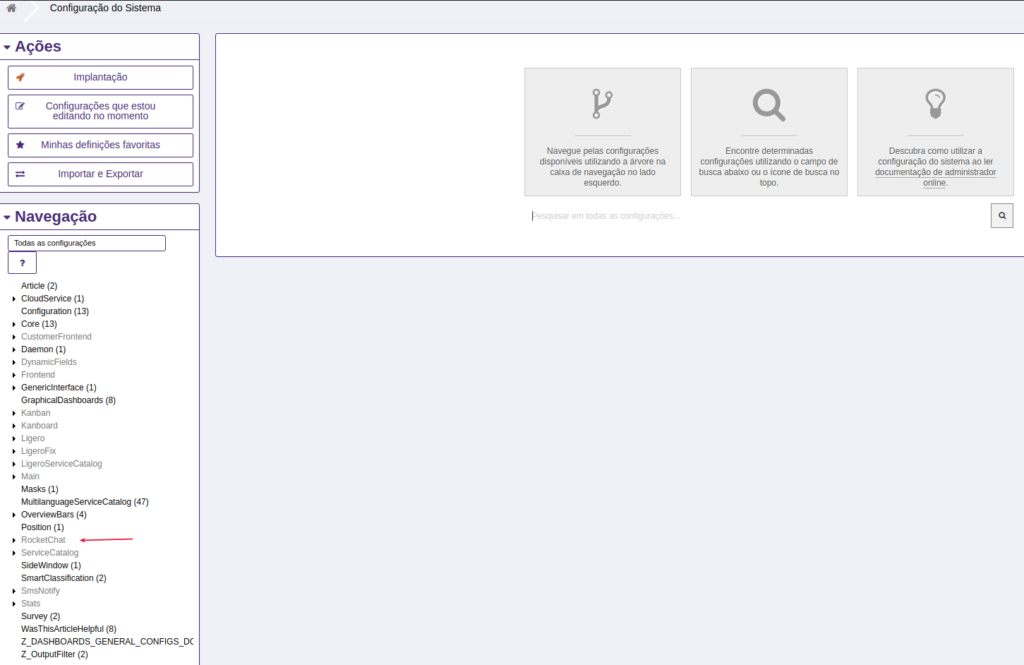
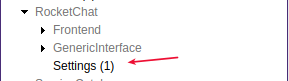
Go back to LigeroSmart, go to Administration -> System Configuration. Then, access the “RocketChat” configuration subgroup and the “Settings” subgroup, as shown in the images below:
Edit the RocketChat :: Code parameter and paste the code copied from RocketChat:
Save the settings and Deploy the changes:
Point Omnichannel's Webhook to LigeroSmart
Access the Omnichannel menu in Rocket.Chat and then “Webhooks”:
Paste the URL below in the parameter Webhook URL, adjusting according to the data of your system and the attendant (service account) that you created previously for this integration in LigeroSmart:
https://meu_ligero_smart.com/otrs/nph-genericinterface.pl/Webservice/RocketChat/?UserLogin=MEU_USUARIO_DE_SERVICO&Password=SENHA_DO_MEU_USUARIO
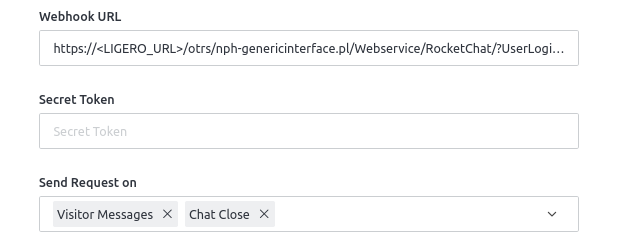
The Secret Token parameter must be blank.
Enable the “Visitor Messages” and “Chat Close” options in the “Send Request on” field
Optional configurations
You can also optionally configure the queue where the integration ticket will be created and also customize the automatic message that is sent to the user via chat with the ticket number.
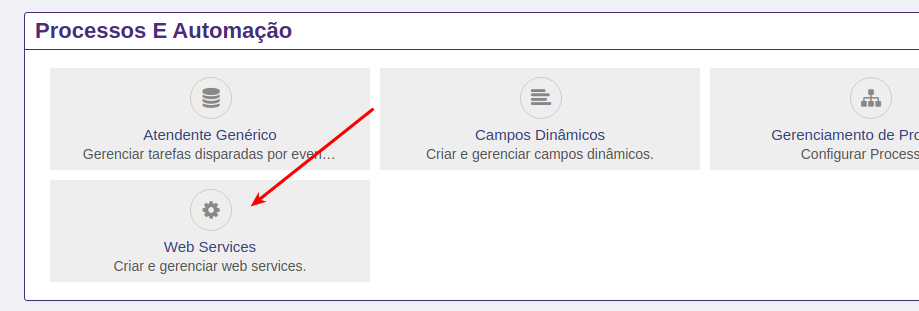
These settings must be made in the LigeroSmart Web Service.
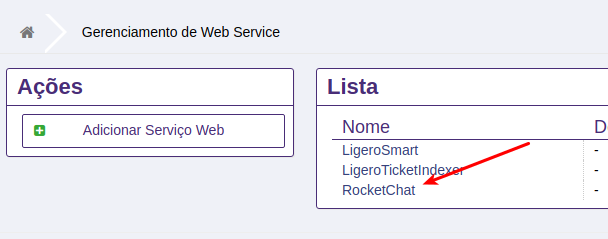
Go to Administration -> Web Services:
Access the RocketChat Web Service:
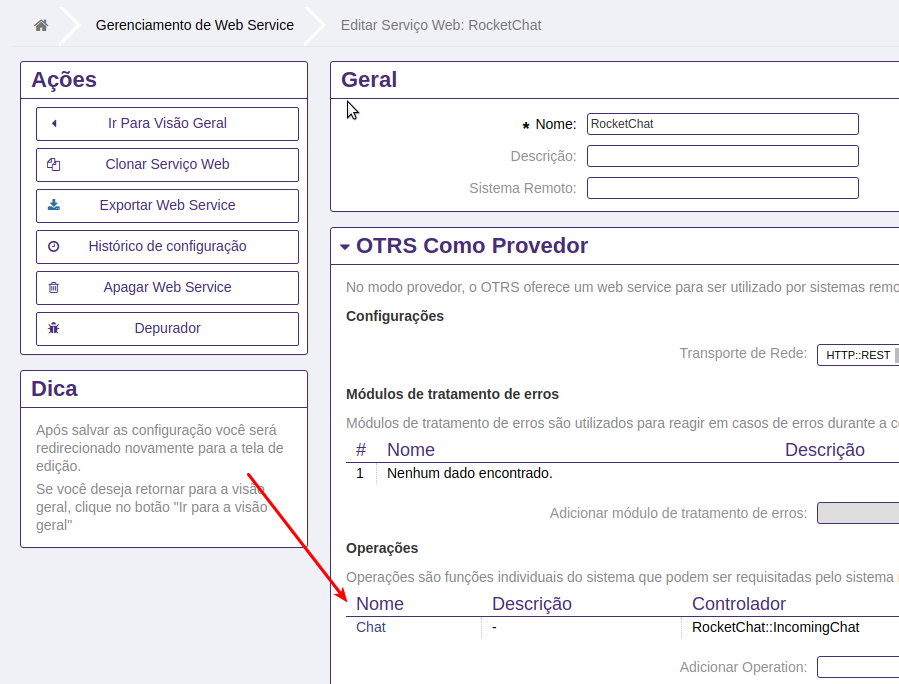
Access the Chat operation:
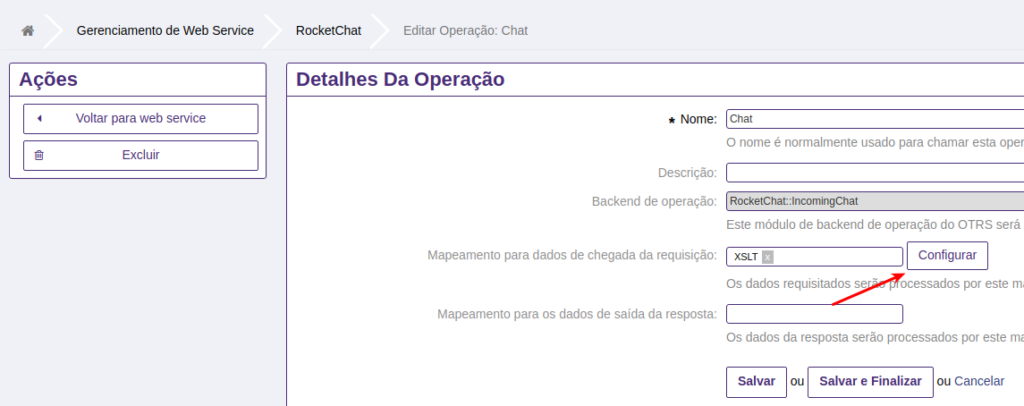
Click configure on the XSLT mapping parameter:
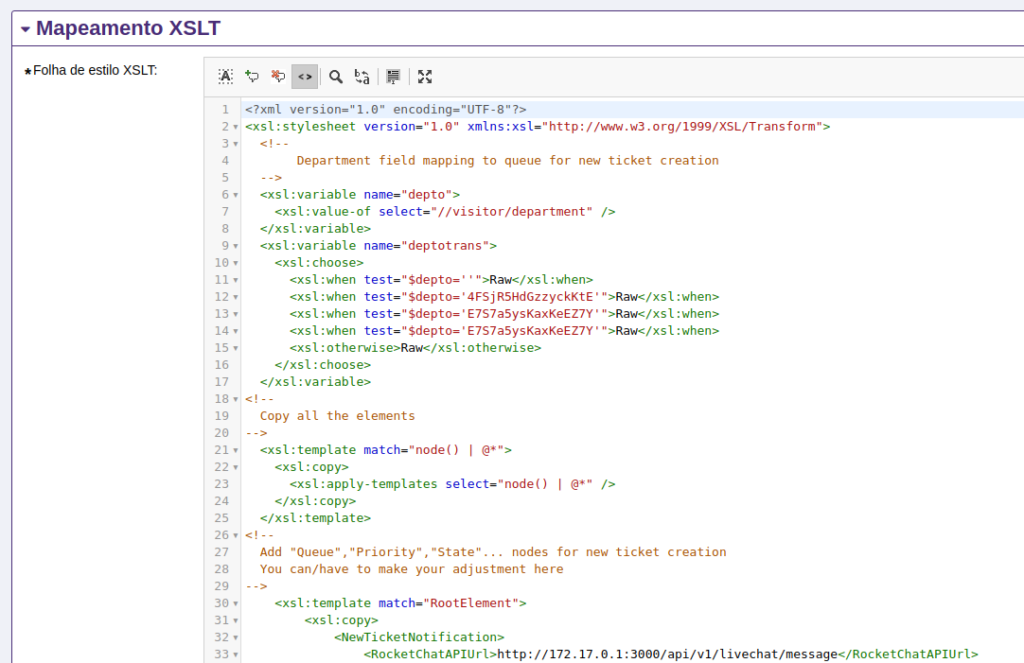
The system will then display the default XSLT that we will change:
Sending a message to the customer when the ticket is created
To enable or customize this message, you must configure this excerpt from XSLT:

In the RocketChatAPIUrl parameter, I put the address of your RocketChat server, keeping the API address.
In the Message parameter, you can customize the message, placing %s in the place where the created ticket number will be displayed.
Save the mapping and do a test 🙂
Customizing the queue where the integration ticket will be created
You can configure the queue where the integration ticket will be created. If you have more than one department on your Rocket.Chat's Omnichannel, you can also have the ticket created in different queues according to the selected department.
To do this, you must adjust the XSLT block below:
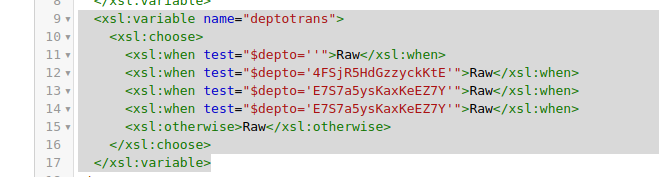
By default, the system will create tickets in the Raw queue. If you want to change this, just adjust by placing your queue name.
Note that there is a test on the $depto variable that is brought from Rocket.Chat to LigeroSmart. The codes 4FSjR5HdGzzyckKtE, E7S7a5ysKaxKeEZ7Y etc, are just examples of the department codes in Rocket.Chat.
To find out the code of your department in Rocket.Chat, access the department settings of Rocket.Chat and edit the desired department as in the image below:
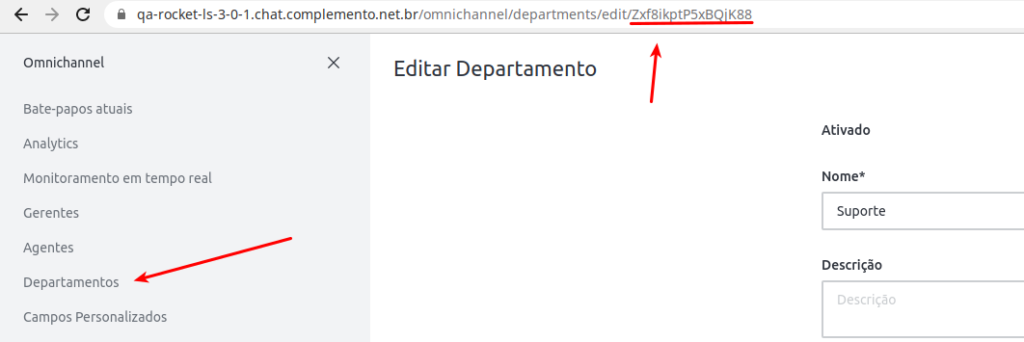
Note that the department code is displayed in the edit URL.
Then make the necessary adjustments, save the XSLT.