Have a Question?
Como configurar uma conta de e-mail no LigeroSmart para enviar e receber mensagens?
One of the most important parts of a Service Desk is being able to read an e-mail account and transform messages sent into calls, as well as send messages to customers from the system, using this account.
E-mail addresses
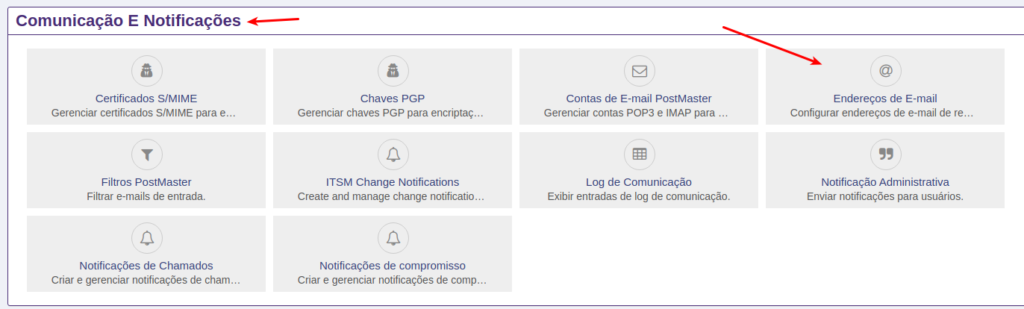
The first step for this to occur in LigeroSmart is, after logged in as an administrator, access the menu "Administration" -> "E-mail Addresses" (which is in the block "Communication and Notifications"):

On this screen, you can click on the default email address that comes in the tool, entering the initial data of your email account:
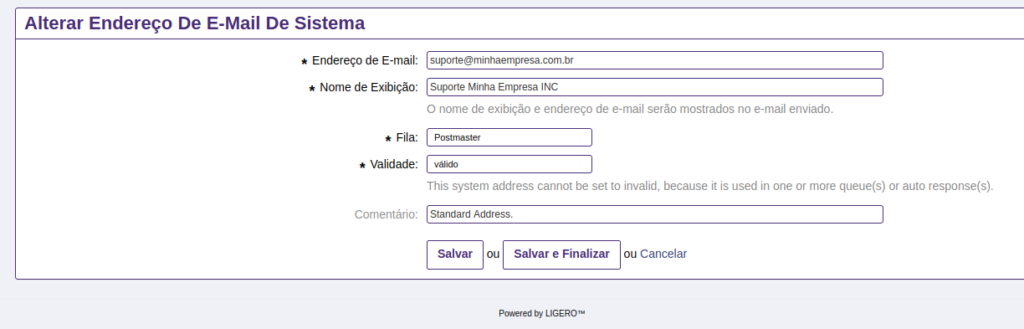
Save and finish 🙂
Configuring incoming e-mails
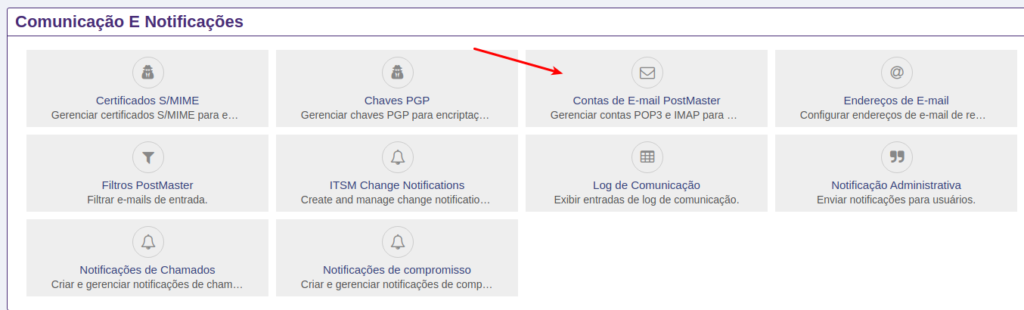
Next, we will configure the receipt of emails.
Go to “Administration” -> “Postmaster E-mail Accounts”:
Click on “Add E-mail Account”:
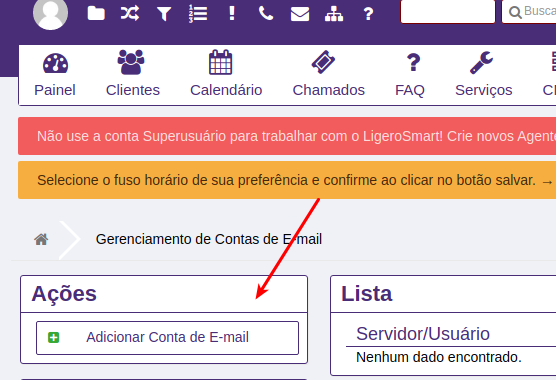
Now enter your E-mail account details:
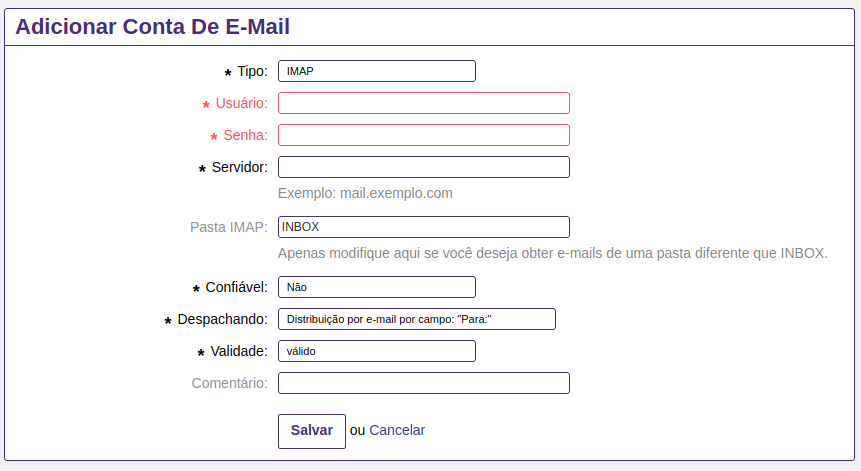
Note that you can choose different receiving protocols, such as POP3S, POP3TLS, IMAPS and IMAPTLS.
Once configured, the system downloads messages every 10 minutes by default, but this can be adjusted.
To force the test of receiving e-mails, you can click on “Get E-mails” in the list of registered accounts:

Setting up email sending
Go to Administration -> System Settings.
Then, access the “Core” parameter group and then “E-mail”:
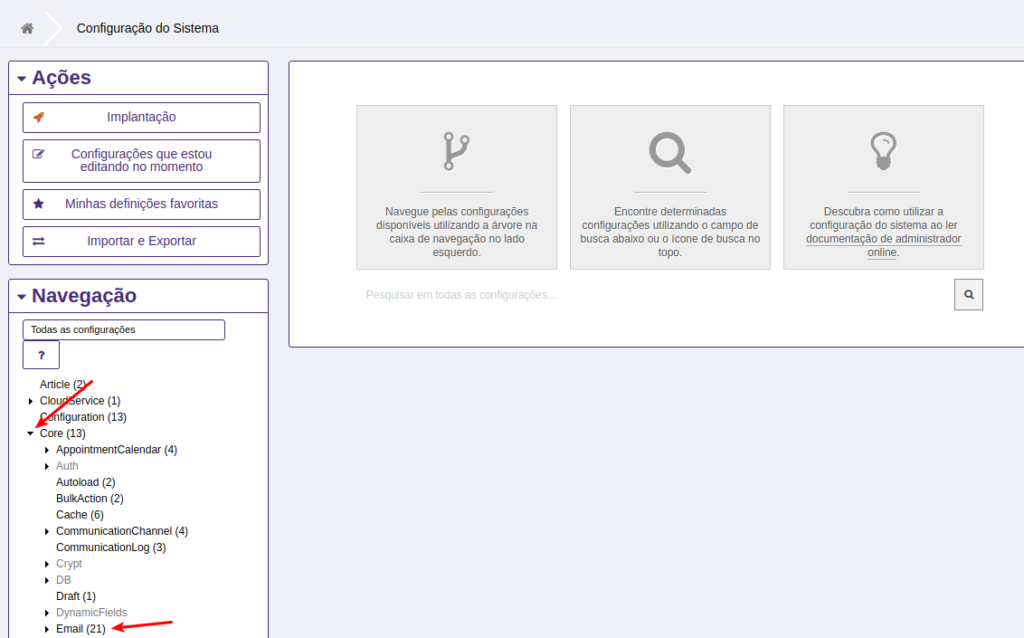
On the following screen, a series of parameters are displayed. These parameters make the tool super flexible for environments that require complex notifications. At this point, we are going to change only what is necessary to start sending emails through the tool.
The first parameter to be changed is NotificationSenderEmail:
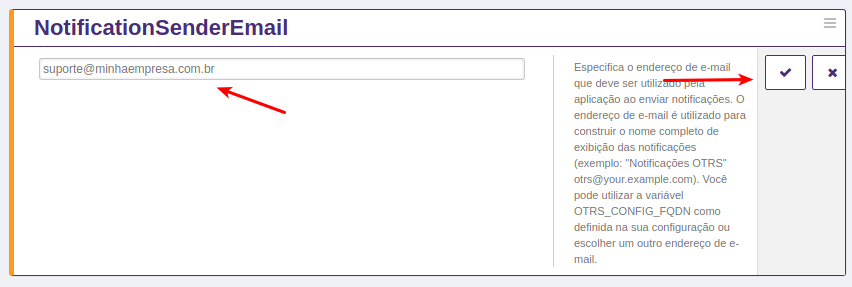
When you start editing the parameter, an orange sidebar is shown, so that you know that that parameter has not yet been saved.
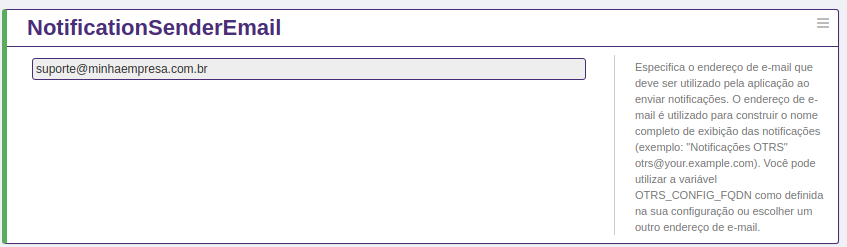
You must then click on the confirmation icon as shown in the image above, to confirm the change. When you do this, this parameter will have a green sidebar, as shown in the image below:
Let's change the other parameters below according to your system:
- NotificationSenderEmail: Enter the address of your email account
- NotificationSenderName: Enter a name for your account, such as “Support My Company”
- SendmailModule: Here you must choose which protocol will be used, SMTP, SMTPS or SMTPTLS
- SendmailModule :: AuthPassword: Your email account password
- SendmailModule :: AuthUser: Your email account login.
- SendmailModule :: Host: The address of the email server
- SendmailModule :: Port: In principle, it is not necessary to change this parameter as the system identifies the port in most cases. If your server has a different port for
Remember to confirm the change of each parameter by clicking on the confirmation icon next to each parameter:

That done, you need to apply the changes you made to the system settings.
Go to "Administration" -> "System Configuration" and click the "Deployment" button:
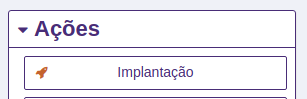
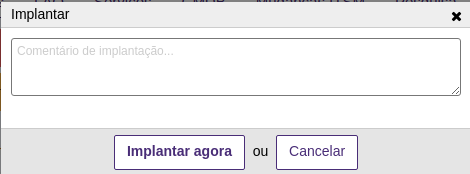
A screen with the changes to be made will be displayed, click on the “Implement selected changes” button and then confirm in the Popup by clicking on “Deploy now”:
Important: you can set up many receiving accounts, but by default, only one sending account. Therefore, we recommend that you only have one receiving and sending account initially.
There is a community plugin that allows messages to be sent by multiple accounts, but we will not cover this in this article, which is more aimed at those who are starting.
Once this is done, your system will be ready to receive and send messages by email!